Sew an All in One with Quick Dry Soaker
This is a quick dry all in one tutorial using the Very Basic All in One Pattern.
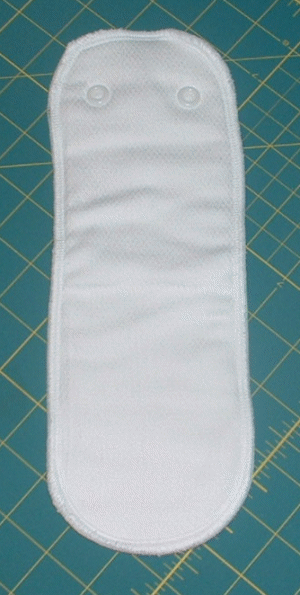
Step One: You’re going to follow the directions pretty closely in the instruction sheets. The only difference is you won’t sew the soaker pad to the two absorbent body layers. Fold your soaker pad as directed – then serge or zig zag all around the edges to secure. We like to round the corners. Tip: You can add your caps and sockets through 6 of the 8 layers before serging or zig zagging to ‘hide’ the snap caps from baby’s skin.
My Grandma hides the snaps so she puts them kind of low on the body of the soaker pad so she can get the serger around it. You can put them up higher if you wish.

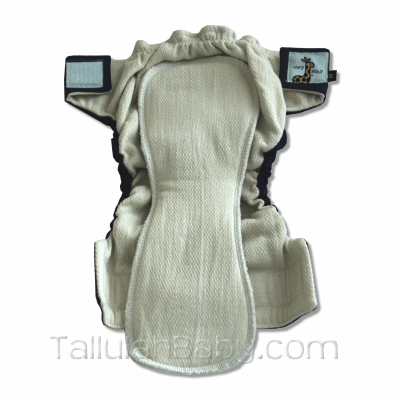
Step Two: Once you have your AIO completed sans the regular internal soaker pad, you can put your cap/studs on for the soaker pad. Again, grandma has them a bit low to line up with the soaker pad. The caps go on the outside and the studs go on the inside. If you don’t want to put your snaps as low as she has them – you can simply line them up under the elastic in the back waist. They should be 3 – 3.5" apart and about a finger space below the back waist elastic. The placement of the snaps isn’t vital – just make sure they line up with the snap in soaker pad correctly and make sure the soaker pad isn’t snapped in too low – you don’t want it sticking out of the front of the AIO.

All done! Wasn’t that easy? You can get creative & top your soaker pad with microfleece or experiment with other fabrics.

Tip: If you have the Very Baby Diaper pattern, you can use the contoured soaker pad template to create a contoured quick dry soaker pad like the official licensees.

(Image from www.tallulahbaby.com used with permission.)

